Your home’s plumbing system is basically a network of plumbing pipes carrying water from point A to point B throughout your house, sounds simple enough, right? But when you need to drain the whole system, it can feel like you’re defusing a bomb if you’ve never done it before.
We’ve helped hundreds of Seattle-area homeowners through this draining process over the years, and honestly? Most people overthink the plumbing maintenance involved. But that doesn’t mean you should wing it either, proper plumbing care requires attention to detail.
Let me walk you through everything you need to know about draining your home’s plumbing system safely. Plus, I’ll share some real stories from jobs we’ve done around Everett, Edmonds, and Lynnwood that’ll help you avoid the mistakes we see all the time with house plumbing systems.

What Makes Up Your Plumbing System (The Basics)
Before we dive into draining, you should understand what you’re actually working with. Your home plumbing has three main components that work together to supply water throughout your house:
The water supply brings fresh water into your home under pressure through the main supply lines. In single-family homes around Snohomish County, this plumbing setup is usually pretty straightforward. High-rise buildings? That’s a whole different beast with multiple water supply sources and complex drain lines, but you probably don’t live in one of those.
Water pressure and flow keeps everything moving through your plumbing pipes and drain pipes. The amount of water pressure depends on how much water you’re using and which direction it’s flowing through the lines. Think of it like a garden hose, kink it, and the water pressure changes dramatically.
Fixtures and drains are where water enters or exits your plumbing system. Sinks, toilets, bathtubs, that outdoor spigot you use for your garden hose, all connected through a network of supply lines and drain lines that make up your house’s plumbing infrastructure.
The plumbing pipes connecting everything together are usually plastic these days (though older homes might have metal pipes or even wood pipe in some cases). They’re sealed with putty or solder at the joints, and various valve components and fixtures control the water flow throughout your home’s plumbing system.

Why Would You Even Want to Drain Your Plumbing?
Good question. We see homeowners needing to drain their plumbing system for four main reasons, and each one involves careful maintenance of your home’s water lines:
Making Repairs
Last month, we worked with a family in Edmonds whose main water line had developed a slow leak behind their kitchen wall. To fix it properly, we had to drain that section of their plumbing system completely. You can’t repair plumbing pipes that are full of water, trust me, I’ve tried (not recommended). Whether you’re dealing with burst pipes, replacing fixtures, or fixing drain lines, proper draining is essential plumbing maintenance.
Winterizing
If you’ve got a vacation cabin up in the mountains or you’re leaving your house empty for an extended winter period, this is critical plumbing maintenance. According to insurance industry data, frozen pipe claims cost homeowners an average of $5,000 per incident.
I remember one client who thought they could skip winterizing their weekend home. Come spring, they had four burst pipes, damaged supply lines, and a flooded basement. The water had frozen in the main supply lines, expanded, and cracked multiple pipe sections throughout the house. Don’t be that person.
Water Hammer Problems
That loud banging noise when you shut off a faucet quickly using the shutoff valve? That’s water hammer, and it can seriously damage your plumbing pipes over time. The sudden water pressure changes can stress pipe joints and valve connections. Sometimes draining and refilling the system helps reset everything and reduces the water pressure buildup in your supply lines.
Upgrading During a Remodel
When you’re switching from a shower to a tub, installing new fixtures, or upgrading your main shutoff valve, you’ll need to drain the system to make those connections properly. This is also when you might discover issues with your drain pipes or supply lines that need attention during the maintenance process.
How to Drain Your Home’s Plumbing System
Here’s the step-by-step draining process we use (and teach our customers) for complete home plumbing maintenance:
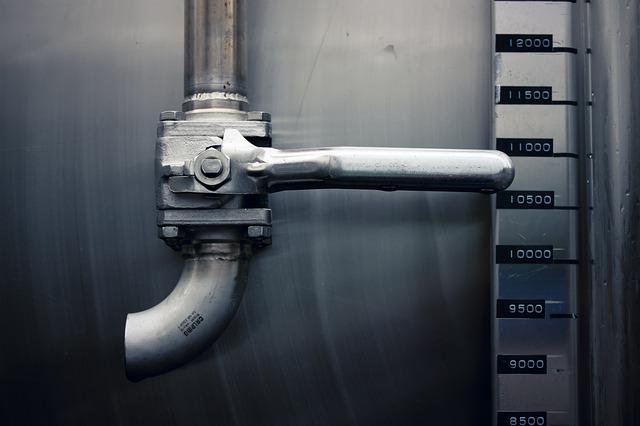
Step 1: Find and Turn Off Your Main Water Supply
Your main water valve (also called the main shutoff) is usually near the street, in your basement, or in the crawl space. In newer Seattle-area homes, it’s often near where the main water line enters your house from the street supply.
Can’t find your main shutoff? Don’t panic. Check your water meter, the main valve is usually right there next to where the supply line connects. Turn this water valve clockwise until it stops completely. This cuts off all water flow to your home’s plumbing system.
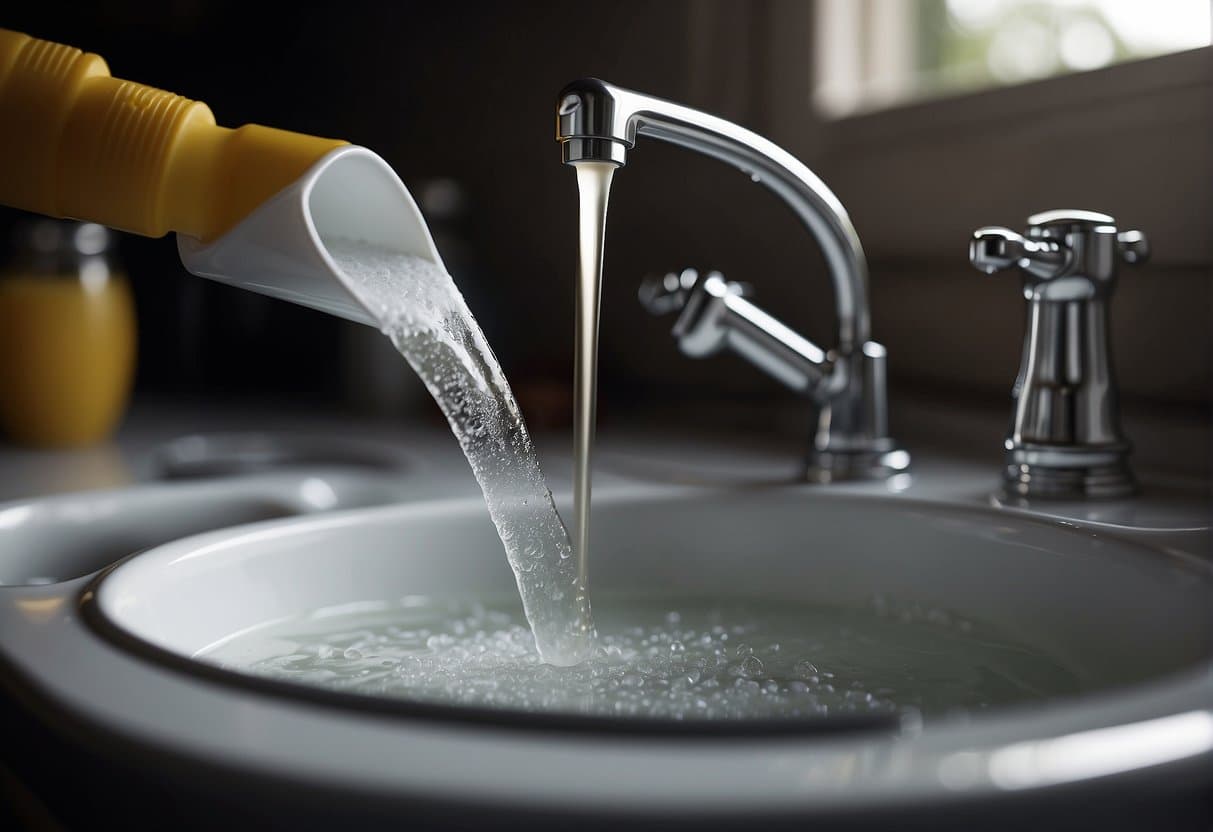
Step 2: Open Every Single Faucet
And I mean every single faucet and valve in your house to drain all the water from the lines:
- Kitchen and bathroom sink faucets
- Shower and tub faucets
- Toilet tank water valves
- Laundry room spigots and drain connections
- Outside hose bibs and spigots
- That random spigot in the basement you forgot about
- Any other valve connections throughout your home
Start with the highest faucets in your house and work your way down through each level. Gravity is your friend here, let it help drain the water from your supply lines naturally.
Step 3: Flush All the Toilets
Flush each toilet multiple times until no more water comes out of the tank or flows through the drain. The tank will keep trying to refill from the supply line, but with the main water supply off, it’ll eventually give up.
One thing we tell our customers: don’t freak out if the toilet makes weird gurgling sounds as the water drains through the trap and into the drain lines. That’s just air moving through the plumbing system.
Step 4: Drain Your Appliances
Your water heater, washing machine, and dishwasher all have water sitting in their internal supply lines and drain connections. Check the owner’s manual for each appliance, they all have slightly different draining procedures for proper maintenance.
For water heaters, there’s usually a drain valve near the bottom connected to the main supply line. Just connect a garden hose to this valve and let the water flow outside (careful, the water in the supply line might be hot).
Step 5: Leave Everything Open
This is the step people always want to skip in the draining process, but don’t. Keep all those faucets and valves open even after the water stops flowing from the supply lines. This prevents vacuum formation in your plumbing pipes that could damage the pipe connections and valve seals throughout your home plumbing system., it’ll eventually give up.
One thing we tell our customers: don’t freak out if the toilet makes weird gurgling sounds. That’s just air moving through the system.
This is the step people always want to skip, but don’t. Keep all those faucets open even after the water stops flowing. This prevents vacuum formation that could damage your pipes.

Refilling Your System (Don’t Rush This Part)
Getting water back into your system is actually the trickier part. Here’s how to do it right:
Step 1: Close All Faucets
Go around and close every faucet you opened earlier. Yes, all of them.
Step 2: Turn the Main Water Back On
Do this slowly. Don’t just crank it wide open, you’ll get water hammering and potentially damage your pipes.
As water starts flowing, you’ll hear some gurgling and see sputtering from faucets. That’s just air getting pushed out. Totally normal.
Step 3: Open Faucets One at a Time
Start with the lowest faucets first this time, then work your way up. Open each one until you get steady, clear water flow, then move to the next.
Don’t rush this step. I’ve seen people open everything at once and create pressure problems that take hours to sort out.
Step 4: Flush Those Toilets Again
Fill up each toilet bowl and tank by flushing several times. This makes sure there are no air pockets hiding in the lines that could cause problems later.

When You Should Call a Professional
Look, I’m all for DIY projects, but some situations require professional help:
- If you’re not comfortable locating your main shut-off valve
- If you discover leaks during the process
- If you’re dealing with an older home with galvanized pipes
- If this is part of a larger renovation project
We’ve been serving the greater Seattle area for years, and we see the same mistakes over and over. Usually, it’s people who started the job themselves, hit a snag, and then called us to fix both the original problem and the new problems they created.
Ready to Tackle Your Plumbing Project?
Draining your plumbing system doesn’t have to be scary, but it does need to be done right. Take your time, follow the steps, and don’t be afraid to ask for help if you need it.
If you’re in the Everett, Edmonds, Lynnwood, or broader Snohomish County area and want a professional to handle this (or help you through it), give us a call. We’ve been doing this long enough to know where things typically go wrong, and we’re pretty good at preventing those problems before they happen.
Sometimes the best DIY decision is knowing when to call in the pros.